As we get into what is a stormy season in much of the United States, it is a logical time to think about our disaster preparedness. In addition to other preparedness guidance about evacuation routes, shelter locations, and the like, it is often suggested to have a disaster kit in your home (a similar kit may be useful in your car and office). Here are a few suggestions for what to put into such a kit.
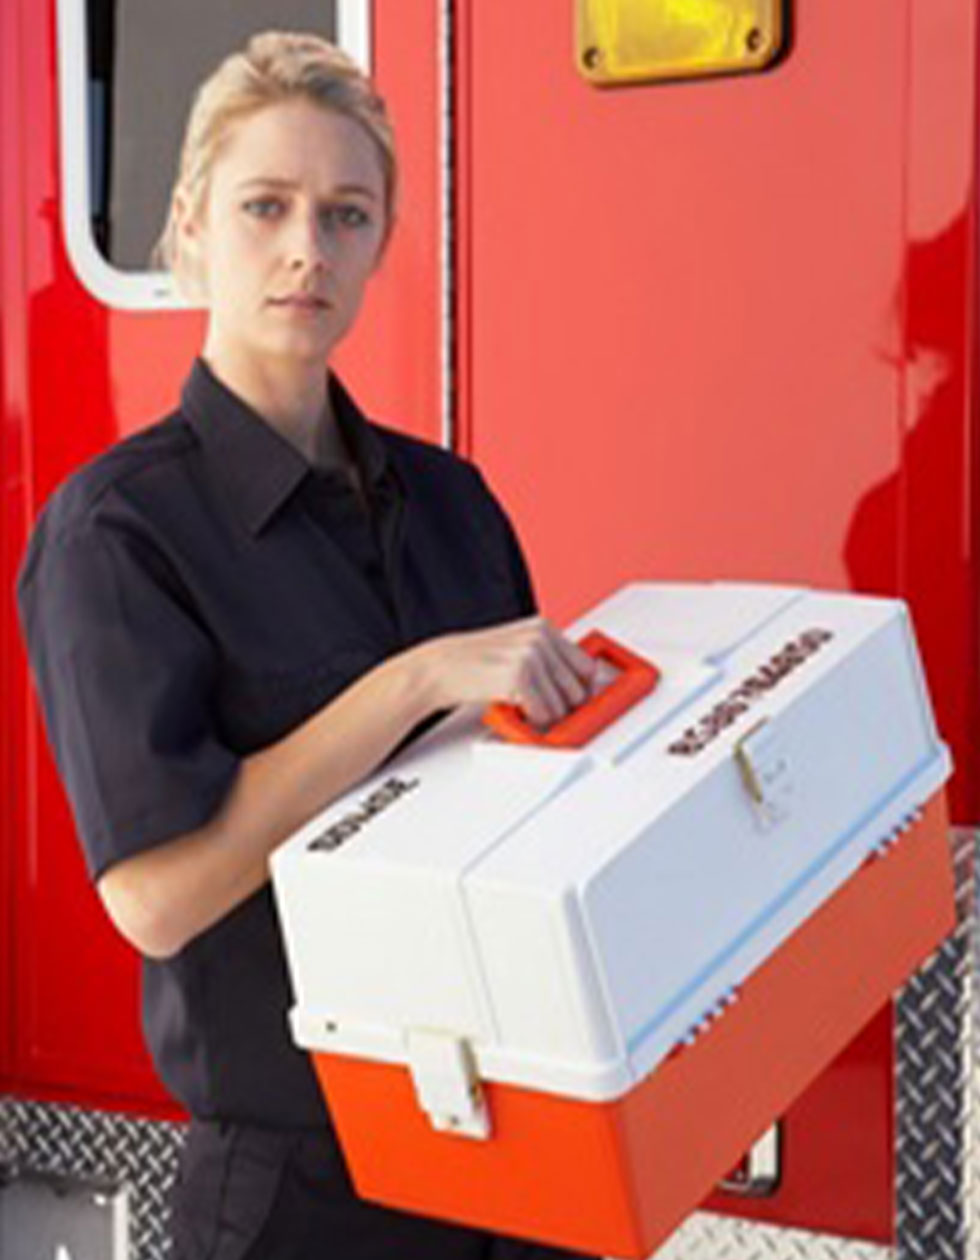
▪ Start with medical supplies. The American Red Cross has ready-made kits for sale that have items such as bandages, antibiotic ointment, scissors, gauze, first aid tape, etc. I suggest either buying one of these kits, or using it to get ideas for what medical supplies to place into yours. If someone in the family takes some basic first aid and CPR training, it will make these supplies much more useful.
▪ Include food and water that is not perishable, and will last your family for a minimum of three days (at least a gallon of water per person for each day for drinking and sanitation). It is better to include food that will not only sustain your family, but that you also like. Ensure that you have a means to eat the food in the kit. For example, including canned food but no manual can opener would be an obvious problem. Remember to think about your pets in this planning. Be clear to everyone that nothing should be removed from the kit in non-emergency situations.
▪ Incorporate whatever you think will help you to communicate under the conditions that you are likely to face in this type of disaster. An emergency radio and batteries is essential. You should also include information on how officials will communicate in an emergency, evacuation routes, and the locations of nearby emergency shelters. Signing up in advance for emergency alerts can help you to safely get out of harm’s way if a disaster does strike. Making copies of identification records such as driver’s licenses and dog licenses/vaccinations may be useful if you must go to a public place such as a shelter.
▪ Think about and try to prepare for the conditions that you may face during the disaster. For example, you may need to include blankets to stay warm; a lighter to start a fire; flashlights, batteries and a lantern for light; and a tarp and rope to build a temporary shelter. Also be sure to include whatever may be needed by household members with special needs. For example, does someone in the family wear diapers or require some sort of medication.
▪ Know what kind of disaster you are likely to face. Use this information to plan for what to put into the kit, and for deciding where to keep it. If the primary type of disaster in your area is tornadoes, then placing the kit in a basement or cellar may make sense. If on the other hand, you live in a floodplain, and that is the more likely disaster, then placing the kit in the basement would likely be a poor idea. Everything in your kit should be kept together, not scattered in various locations.
▪ Keep your kit in a waterproof and sturdy container, such as a plastic barrel, to keep it safe from weather, mice, etc. Review the location of the kit and its contents with your family on a regular schedule, along with your drills and your plans for where and how to connect in a disaster. Also have a regular schedule for inspecting the kit and for replacing batteries, food, water, etc. with fresh supplies. A checklist with the kit will help you to keep track of this information.


